A Quiet Life with a border collie
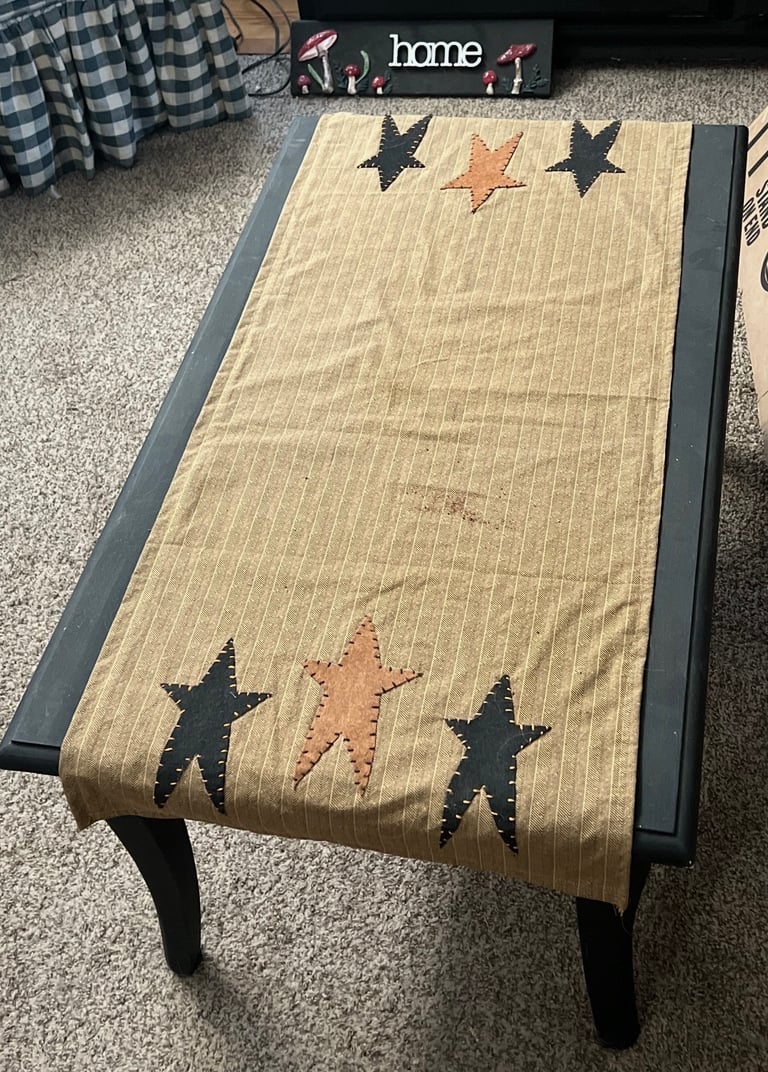
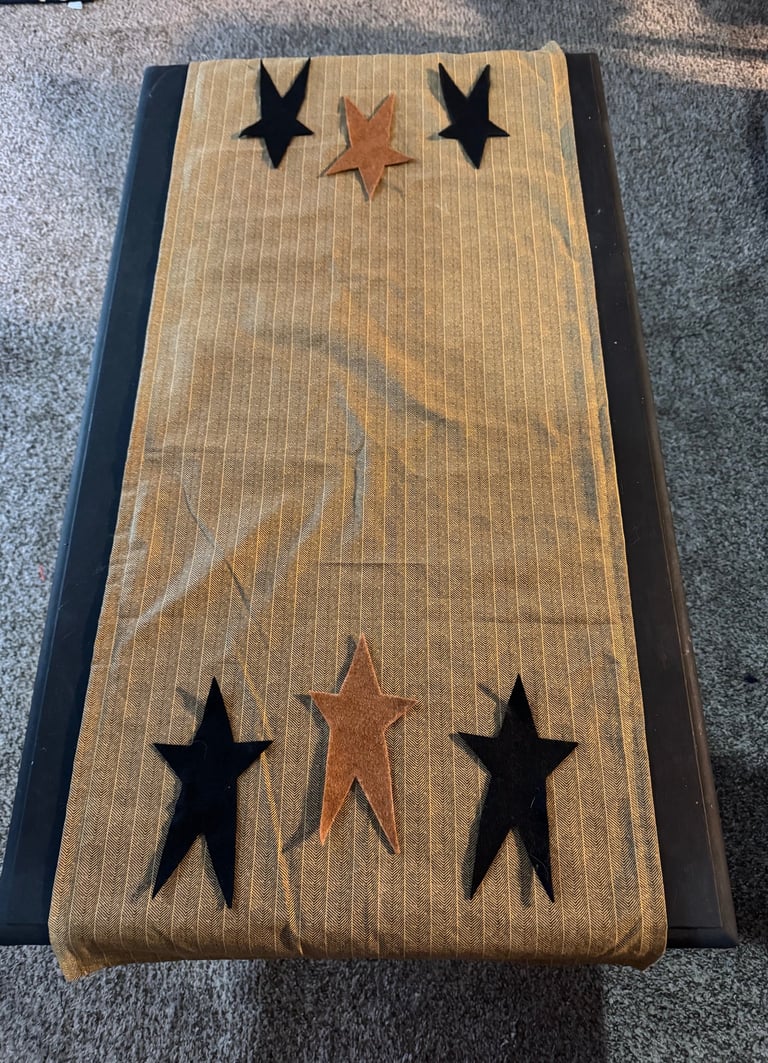
Primitive Star Table Runner
I am fond of primitive decor. It can be quite challenging to find it in Colorado. Whenever I travel back east each year, I try to visit a few stores. Pennsylvania and upstate New York have some fantastic shops to explore. I usually prepare a list of items I want to purchase, but sometimes I get lucky and find the perfect peace, while at other times I can't seem to discover anything.
I've been on the hunt for a table runner for some time now, but I haven't been able to find the right one. I came across a photo on Pinterest that inspired me to create my own using a sheet I picked up at a thrift store, along with some felt and embroidery floss.
Items Required -
fabric - I discovered my fabric at a thrift store. It's best to choose basic colors such as
Rich Reds: Barn red, burgundy. Subdued Yellows: Mustard and warm tan. Deep Blues: Navy blue and midnight blue. Naturals: Cream, umber, walnut, and black.
3 felt sheets in the colors you prefer. I managed to gather 4 stars from my felt sheet , but if you enlarge them, you may need more. I got 1 mustard and 2 black.
1 embroidery thread in mustard and 1 in black.
I located my primitive star design online; there are numerous options available. Here is the link to the one I selected -- https://www.intelligentquilting.com/primitive-stars-p/ih-primitive-stars.htm
You'll also need a sewing machine, embroidery hoop, needle, chalk, tape measure and scissors.
First, you should measure your table. Start by measuring lengthwise; once you have that measurement, add 10 inches to allow it to extend over the edges of the table. Next, measure how wide you want the runner to be, adding another two inches. This ensures that when you hem the sides, you will still have the width you need.
How to -
Once your fabric is cut, you can proceed to iron it.
Next, you'll sew the ends of your runner. I prefer to begin with the longer ends before moving on to the shorter ones. You’ll need to fold your fabric from the front to the back. Ensure that the backside of your fabric is facing you. Fold it over by 1/2 inch and then by another 1/2 inch. You can use pins to keep it in place. Alternatively, you can fold it 1/2 inch, then sew it, and do the same for the other 1/2 inch and sew it again.
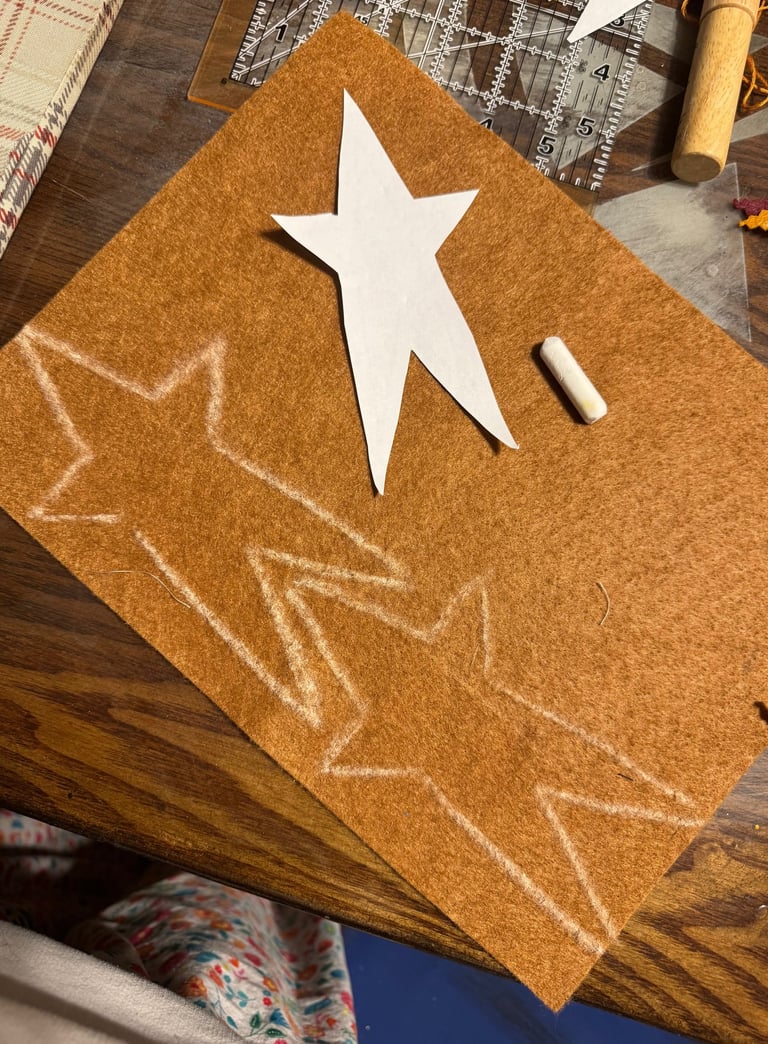
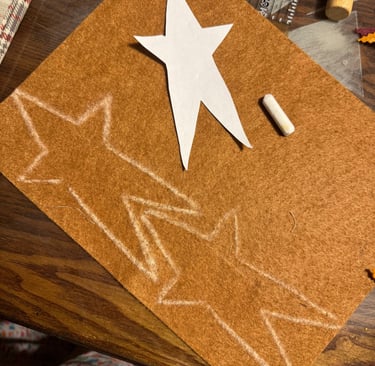
Now it's time to work with the stars. You will use your chalk to outline the stars on your felt. I prefer using chalk because it's quite forgiving.
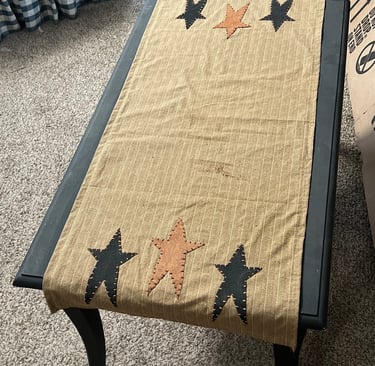
Once you've cut out all your stars, we can start sewing them on. I will be using 3 stars on each side: 2 black and 1 mustard.
If you're using a different star or a larger one, make sure to measure the star according to the width of your runner to determine how many will fit. You should leave some space in between each star and on each end of your runner.
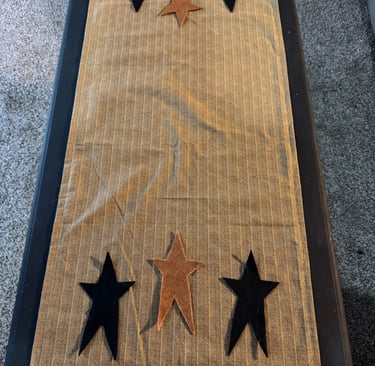
Position your runner on the table and arrange your stars at each end. Ensure they are level. You can secure all the stars in place with pins, or alternatively, take a photo with your smartphone.
I managed to count how many strips were on my fabric and where I arranged them. I utilized a ruler to measure how high from the edge I set them.
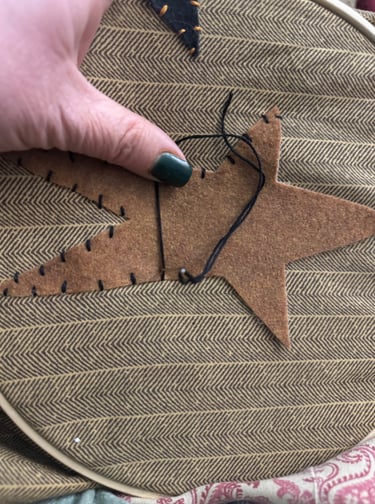
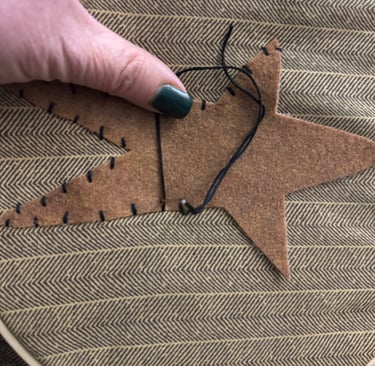
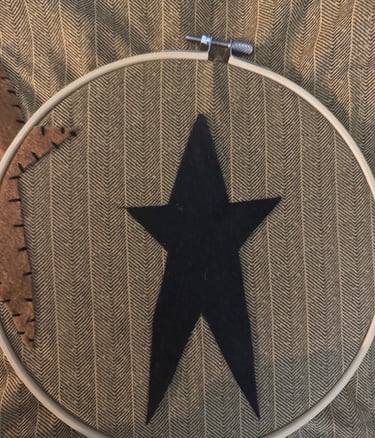
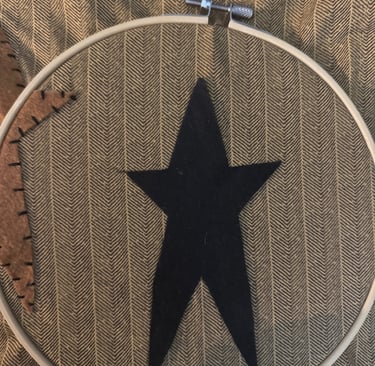
Stitching the stars is fairly straightforward. Use black floss for the mustard stars and mustard floss for the black ones. Pay attention to the stitching on the stars.
I'm utilizing an embroidery hoop to sew my stars, which keeps the fabric tight.
As you switch from back to front, create a small stitch line. I didn't measure the placement of my stitches because I preferred that classic hand-crafted look, but you can mark where you want them for a neater finish.
Reach out to us