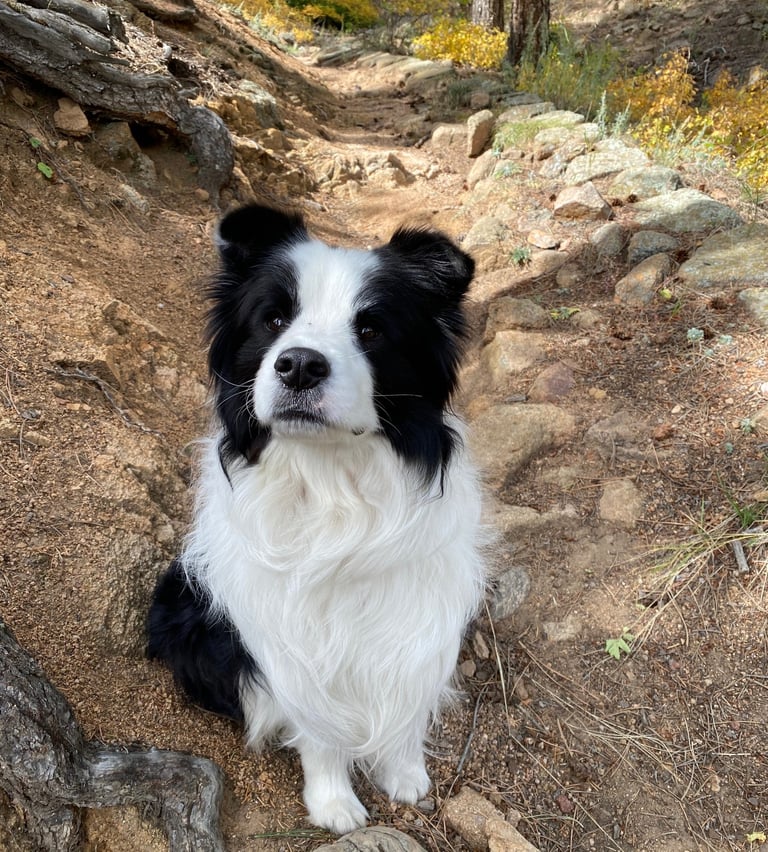
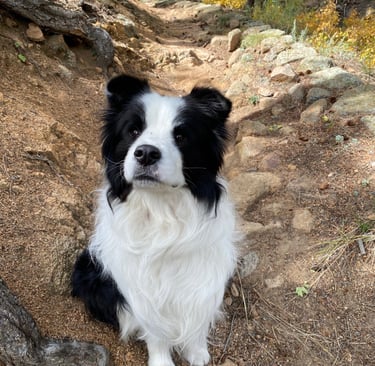
A Quiet Life with a border collie
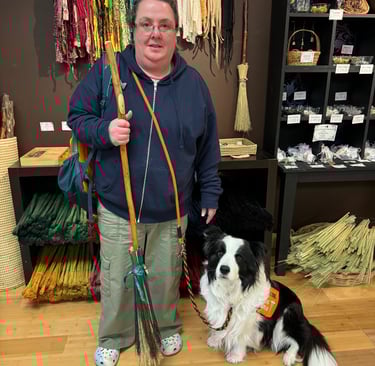
During the early spring, my SD Watchher and I had the opportunity to explore Salem, Massachusetts. Visiting Salem had been a long-standing desire of mine. Our four-day trip was absolutely wonderful as we visited attractions like The House of Seven Gables, The Witch House, Salem Witch Trials Memorial, the History and Hauntings of Salem walking tour at night, and many other places.
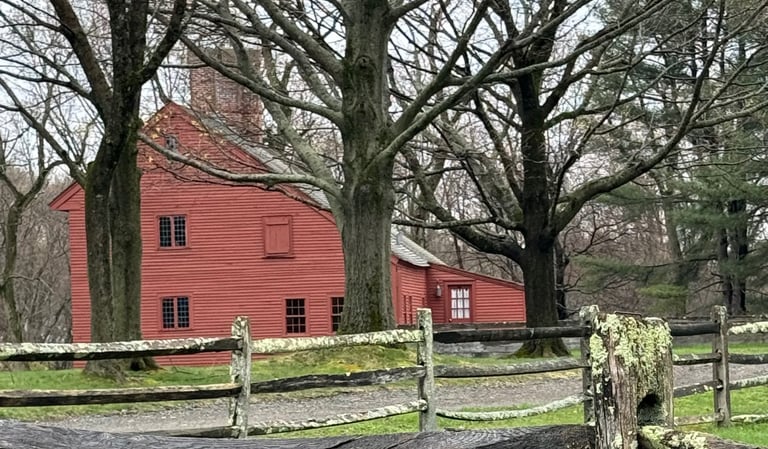
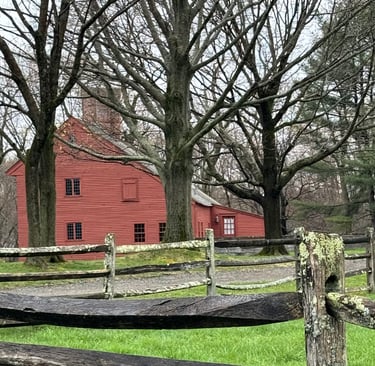
We also had the opportunity to visit Rebecca Nurse's home, which was the top place on my list to see. Despite the rain, we managed to make it there.
Witch Broom- Make your Own
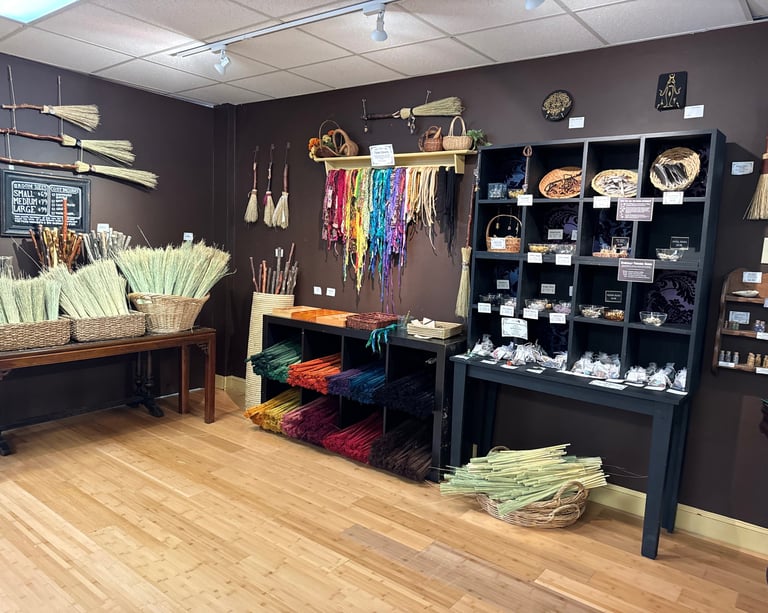
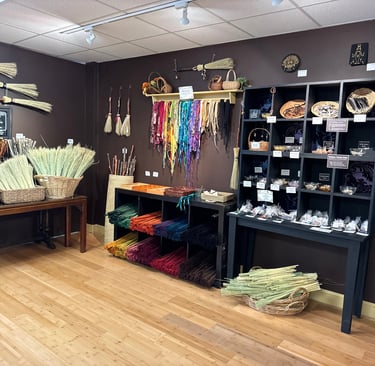
While we were visiting, I searched throughout the town for a witch's broom as I wanted to buy one for my mother-in-law who is a big fan of Halloween. I also had a desire to have one for myself. Eventually, I discovered a place where you could attend a class to create your own broom. That evening, we enrolled in a class which turned out to be very enjoyable. I managed to gather the necessary supplies to bring back home and assist my mother-in-law in making her own broom.
I believed I could share my knowledge with all of you so that you can also create a witch broom.
What you will need -
1- 1 branch - This branch must be both dead and dry, and it should measure 4 feet long.
2- Sandpaper
3- Wood Stain or varnish I applied Polycrylic Varnish instead of Stain.
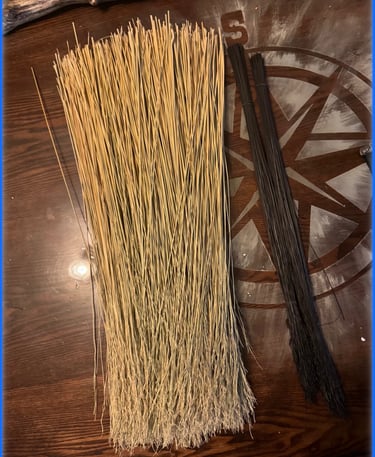
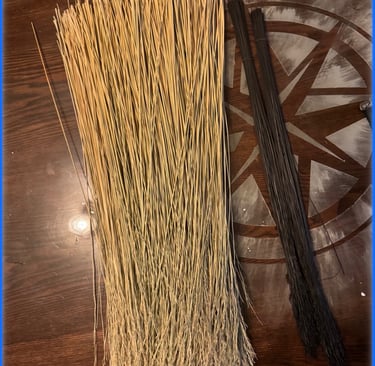
4- 1 pound of natural 20-inch broomcorn
5- Two black 20-inch Broomcorn color splash
6- Wax cotton string 25 yards
7- Rubber band
8- Glove
To Make Broom

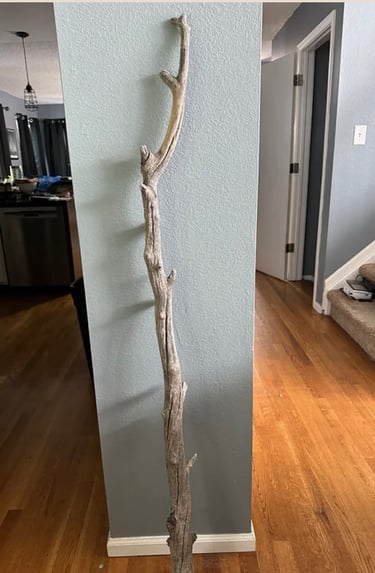
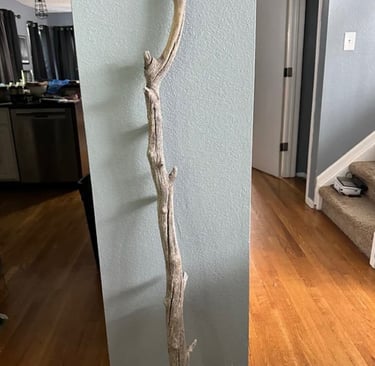
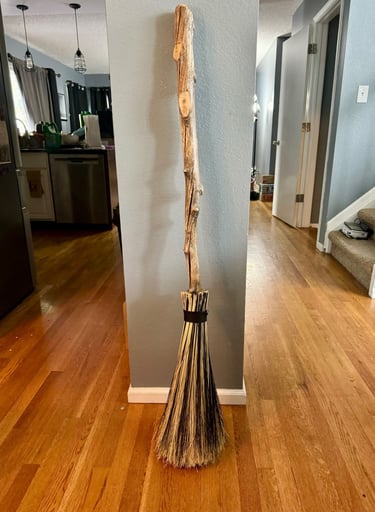
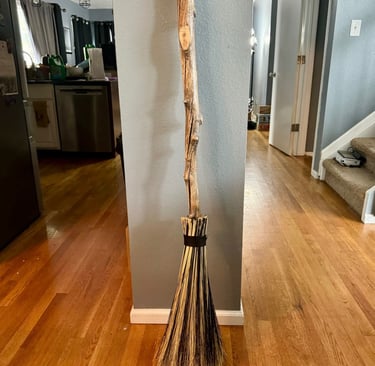
To create your handle, select a branch that is approximately 4 feet long. If there are knots on the branch, trim them down. Ensure that the branch is dry. Then, use sandpaper to sand the handle by hand. If the handle is very dry, sanding may produce a lot of dust, so consider doing this step outdoors. Once you have achieved the desired appearance and texture for your handle, wash it and allow it to dry overnight.
The following day, you will need to stain and seal your handle. I opted not to stain mine but instead applied a clear polycrylic. I applied four coats, allowing 2-3 hours of drying time between each coat.
It is necessary to place a rubber band on the handle at this moment. Choose the side of the handle where you want to attach the broomcorn. Next, mix the black and natural broomcorn. Grasp the cut ends of the broomcorn and lightly tap them on a table to make sure they are even.
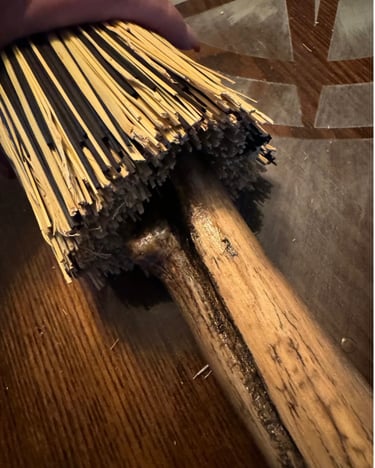

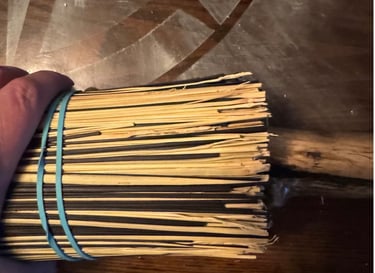
Next, lay your broomcorn on a table and position the handle on top of it, ensuring the broomcorn is evenly gathered around the handle. The handle should be approximately 6 inches down the broomcorn. Once the broomcorn is evenly distributed around the handle, secure it in place by sliding on a rubber band. If necessary, straighten out the broomcorn.
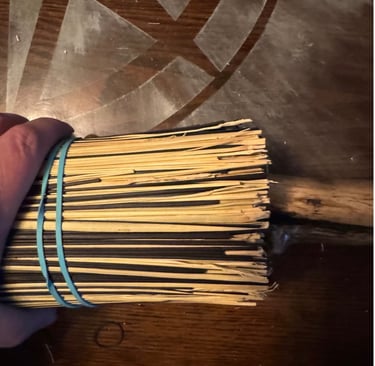
To begin, put on a glove before wrapping the wax cord. Start about 3-4 inches down from the top of your broomcorn and tie a double knot around the broomcord, ensuring it is tightly secured. Wrap the wax cord around the broomcorn, using your gloved hands to pull it tight. I typically make my wax cord band approximately 1 1/2 inches wide. After wrapping, simply tie it off. Remember to always maintain tension by pulling tightly with your gloved hand while wrapping the wax cord.
You can now cut off the rubber band and you are done.
Reach out to us